Transform Kale into a Healthy Snack: Crispy Oven Chips Recipe
Kale, often lauded as a superfood, can sometimes feel intimidating to incorporate into your daily diet, especially if you're not a fan of its raw, leafy texture. But what if we told you there's a simple, delicious, and incredibly healthy way to enjoy this nutritional powerhouse? Enter crispy oven-baked kale chips! These addictive snacks are a revelation, transforming tough greens into light, airy, and utterly satisfying crisps that even the pickiest eaters will love. If you've been wondering
how to make kale chips in the oven that are perfectly crunchy every time, you've come to the right place. This comprehensive guide will walk you through the process, offering tips and tricks to ensure your homemade kale chips are a resounding success.
Why Kale Chips Are Your Next Favorite Snack
Beyond their irresistible crunch and savory flavor, kale chips offer a wealth of health benefits that make them an ideal snack choice. Kale is packed with vitamins K, A, and C, as well as essential minerals and powerful antioxidants. When roasted into chips, it retains much of its nutritional value, providing a guilt-free alternative to traditional potato chips.
Many people find raw kale's earthy, sometimes bitter taste, and fibrous texture a challenge. However, the oven transforms kale leaves, mellowing their flavor and creating a delicate crispness that is truly mind-blowing. It's a fantastic way to sneak more greens into your diet or encourage children to eat their vegetables. Forget the idea that healthy snacks have to be bland; these kale chips are proof that nourishing food can be incredibly flavorful and fun.
The Essential Ingredients for Perfect Oven-Baked Kale Chips
One of the beauties of this recipe is its simplicity. You only need a handful of basic ingredients to create a gourmet snack right in your own kitchen.
Choosing Your Kale Variety
While any fresh kale variety will work, *curly kale* is often preferred for chips because its ruffled edges crisp up beautifully, creating more surface area for flavor and crunch. Lacinato kale (also known as dinosaur or Tuscan kale) also works well, offering a slightly denser chip. Always start with fresh, vibrant green leaves – wilted kale won't yield the same crispy results.
The Right Oil Makes All the Difference
A light coating of oil is crucial for achieving that desired crispiness and helping the seasonings adhere.
*
Olive Oil: A classic choice, offering a delicious, subtle flavor.
*
Avocado Oil: A great neutral-tasting option with a high smoke point.
*
Melted Coconut Oil: Can impart a slightly sweet, tropical note, which pairs surprisingly well with savory seasonings.
*
Olive Oil Spray: For a lighter touch and extremely even coating, an oil spray can be an excellent tool, ensuring every part of the kale gets just enough oil without becoming greasy.
Flavor Boosters & Seasoning Ideas
While salt and garlic powder are the foundational seasonings for incredibly tasty kale chips, feel free to experiment and customize.
*
Garlic Powder & Paprika: A winning combination for savory, slightly smoky chips.
*
Onion Powder & Chili Powder: For a bit more zest and a touch of heat.
*
Nutritional Yeast: A fantastic addition for a "cheesy" flavor without dairy, perfect for a vegan option.
*
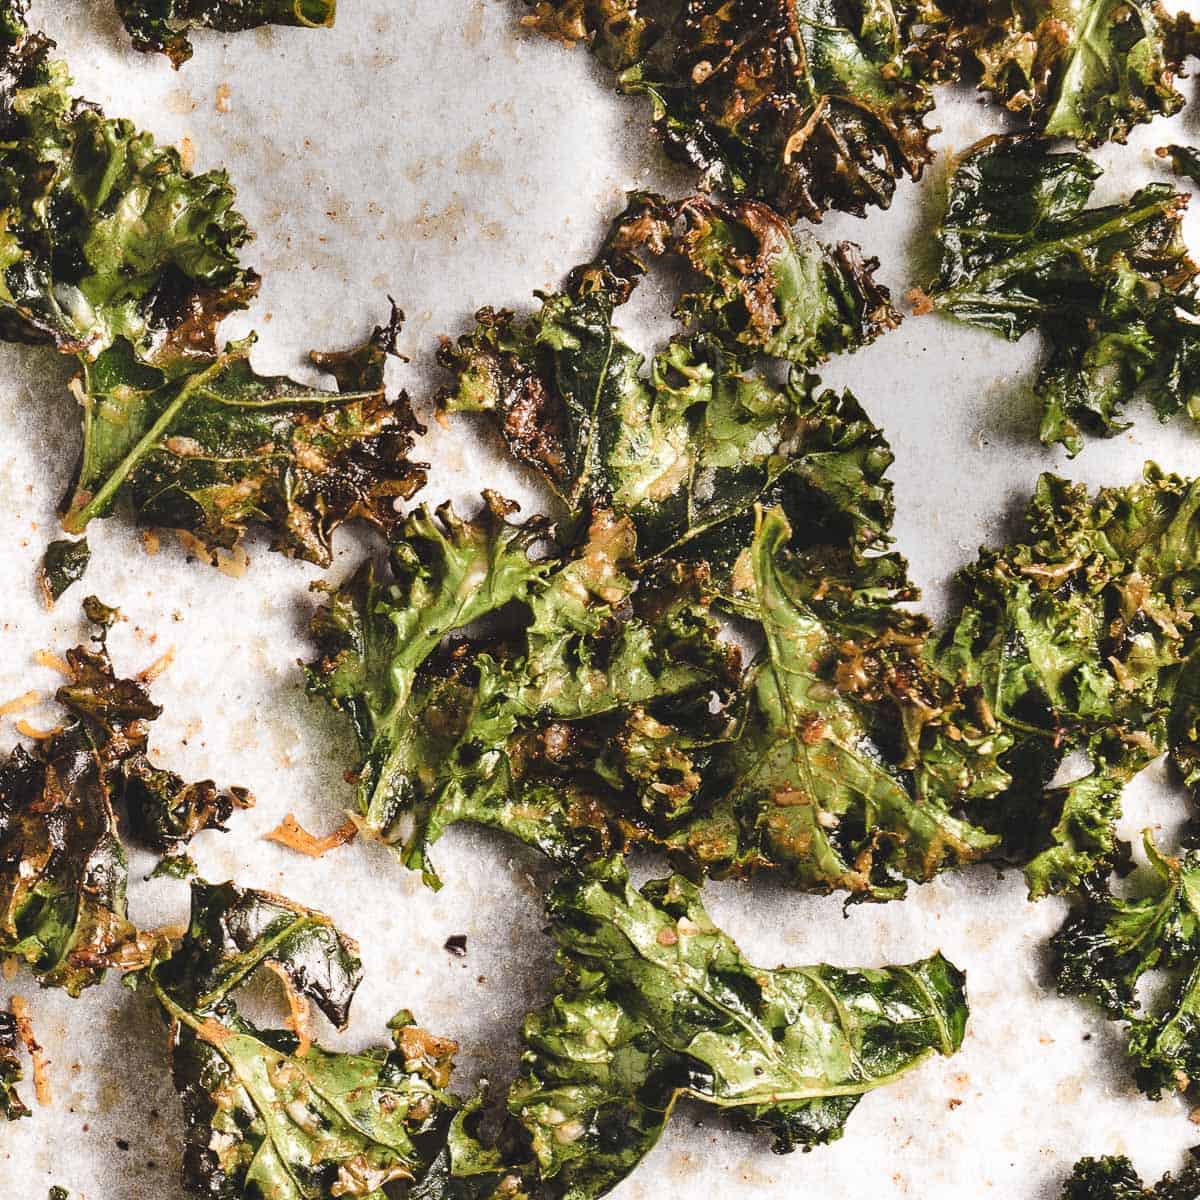
Grated Parmesan Cheese: (Optional) Sprinkling a little parmesan over the kale before baking adds a salty, umami depth that is incredibly satisfying.
*
Smoked Paprika, Curry Powder, Cumin: Explore different global flavors to keep things exciting.
*
Everything Bagel Seasoning: For a robust, savory kick.
Step-by-Step Guide: How to Make Kale Chips in the Oven
Getting perfectly crispy kale chips involves a few critical steps. Follow these instructions closely for the best results.
1.
Preheat and Prepare: Preheat your oven to 350°F (175°C). Line two large, rimmed baking sheets with parchment paper. This prevents sticking and makes cleanup a breeze. Adjust your oven racks to accommodate both pans for even baking.
2.
Wash and De-Stem the Kale: Thoroughly rinse your fresh kale leaves under cold water. The tough, fibrous vein running down the center of each leaf needs to be removed. Hold the stem with one hand and pinch the base of the leaves with the other, then slide your fingers away from the stem to peel the leaves off. Discard the stems.
3.
Tear and Dry Thoroughly: Tear the kale leaves into bite-sized pieces, roughly 2 inches. This is arguably the *most crucial* step for crispy chips: they must be bone dry. Use a salad spinner to remove as much water as possible – you'll be surprised how much moisture comes out! After spinning, spread the kale onto a clean dish towel or paper towels and gently pat them dry until absolutely no visible moisture remains. Any residual water will steam the kale rather than crisp it, resulting in soggy chips.
4.
Season the Kale: In a large mixing bowl, whisk together your chosen oil (olive, avocado, or melted coconut oil) with garlic powder, paprika, salt, and freshly ground black pepper. Add the dried kale to the bowl and toss thoroughly with tongs or clean hands until every piece is lightly and evenly coated. If using optional grated parmesan, sprinkle it over the kale now and toss gently to combine.
5.
Arrange on Baking Sheets: This is another vital step. Arrange the kale leaves in a single layer on the prepared baking sheets.
Do not overcrowd the pans. Give each piece a little space. If the kale is piled up, it will steam instead of crisp. You might need to use more than two baking sheets or bake in batches if you have a very large bunch of kale. For more guidance on achieving the perfect crisp, you might find this article helpful:
Easy Oven-Baked Kale Chips: Get Perfectly Crispy Every Time.
6.
Bake to Perfection: Bake for 7 minutes, then rotate the pans (top to bottom, front to back) and bake for another 7 minutes. Keep a close eye on them during the second half of baking, as they can go from perfectly crisp to burnt very quickly. If you prefer a slightly lower temperature bake for a bit longer, some recipes suggest 325°F (160°C) for 20-30 minutes, but monitoring is still key.
7.
Cool and Enjoy: Once out of the oven, let the kale chips cool on the baking sheets for a few minutes. They will continue to crisp up as they cool. Serve immediately and enjoy your homemade, healthy snack! For those looking for an even quicker preparation, check out
Quick & Simple Kale Chips: Bake a Healthy Snack in Under 30 Mins.
Pro Tips for Crispy, Flavorful Kale Chips Every Time
*
Don't Skip the Dry Step: We can't emphasize this enough. Moisture is the enemy of crispiness. Invest in a good salad spinner or use plenty of paper towels.
*
Less Oil is More: While oil helps crisp, too much will make your chips greasy and heavy. Aim for a light, even coating. An oil spray can be very effective here.
*
Even Heat Distribution: Rotating the pans ensures that all your chips bake evenly.
*
Watch Them Closely: Oven temperatures can vary, and kale chips cook quickly. Stay near the oven and check for browning, especially towards the end of the baking time. They should be brittle and easily shatter when cooled.
*
Cool Completely: The residual heat from the baking sheet allows the chips to finish crisping up. Don't rush this step.
Serving Suggestions & Variations
Crispy kale chips are wonderful on their own, but they also make a fantastic garnish for soups, salads, or even as a crunchy topping for grain bowls. Get creative with your seasonings! Experiment with different spice blends, a dash of hot sauce before baking, or a sprinkle of lemon zest after they cool for a bright finish.
Conclusion
Making crispy oven-baked kale chips is not just a recipe; it's a game-changer for anyone looking to enjoy a healthy, delicious, and easy-to-prepare snack. With just a few simple ingredients and a little attention to detail – especially the crucial drying step – you can transform a humble bunch of kale into an irresistible treat. So, grab that kale, preheat your oven, and discover the joy of homemade kale chips. Your taste buds, and your body, will thank you!